
Last updated November 15, 2026
 Sweep & inspection
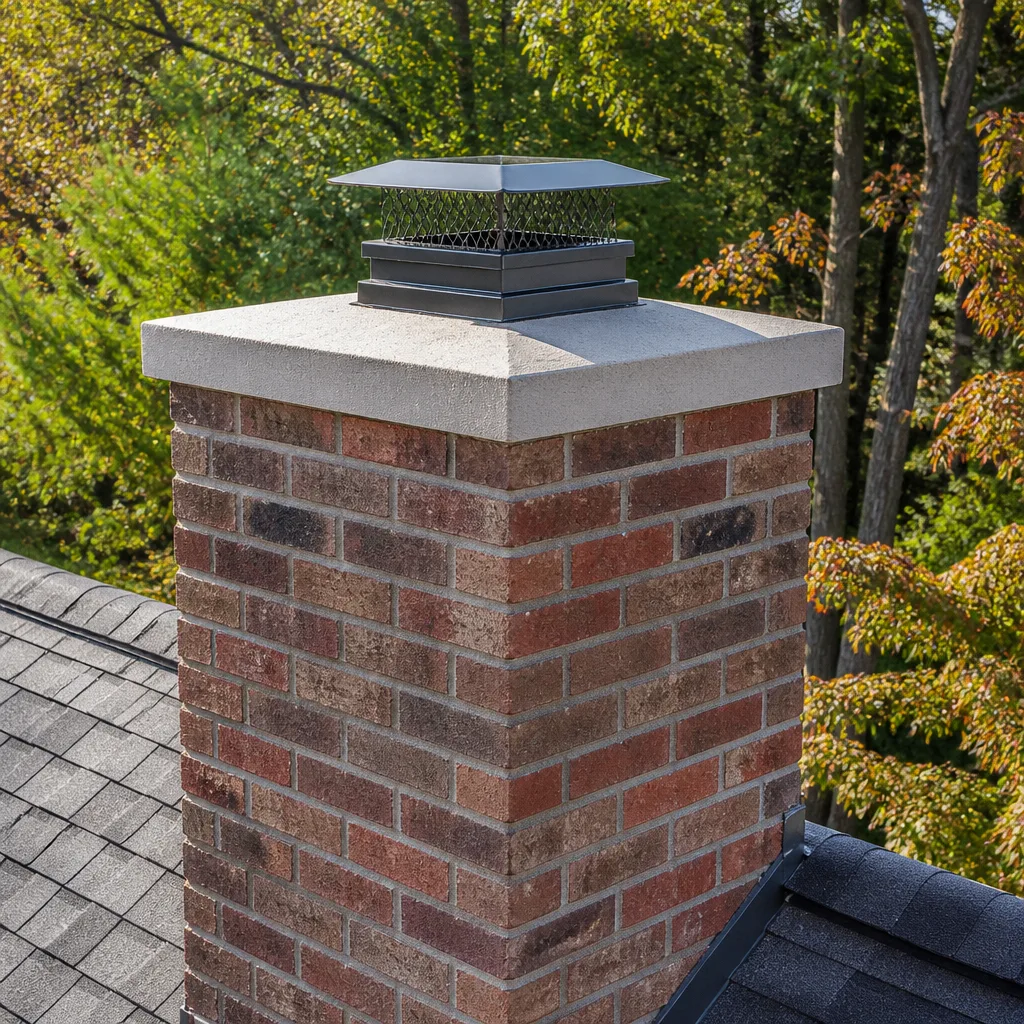 Caps & crowns
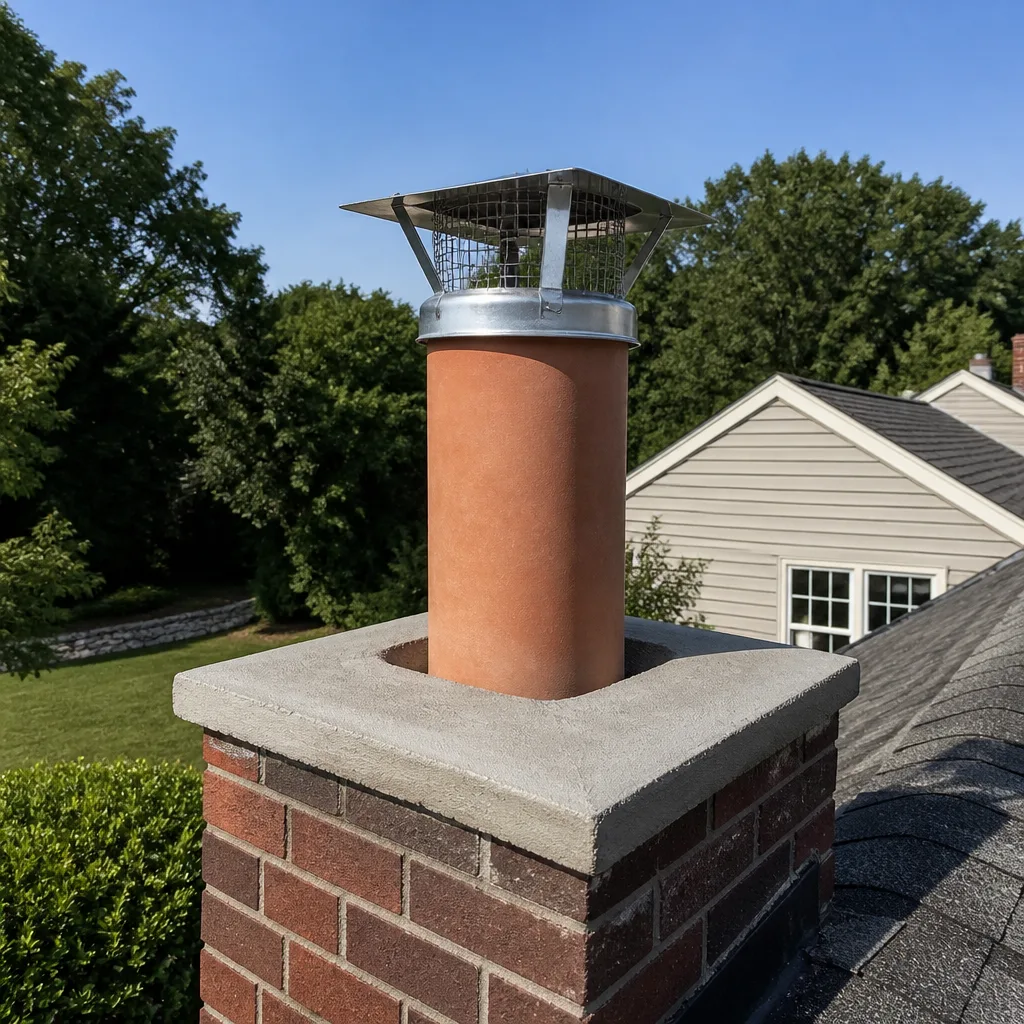 Flue relining
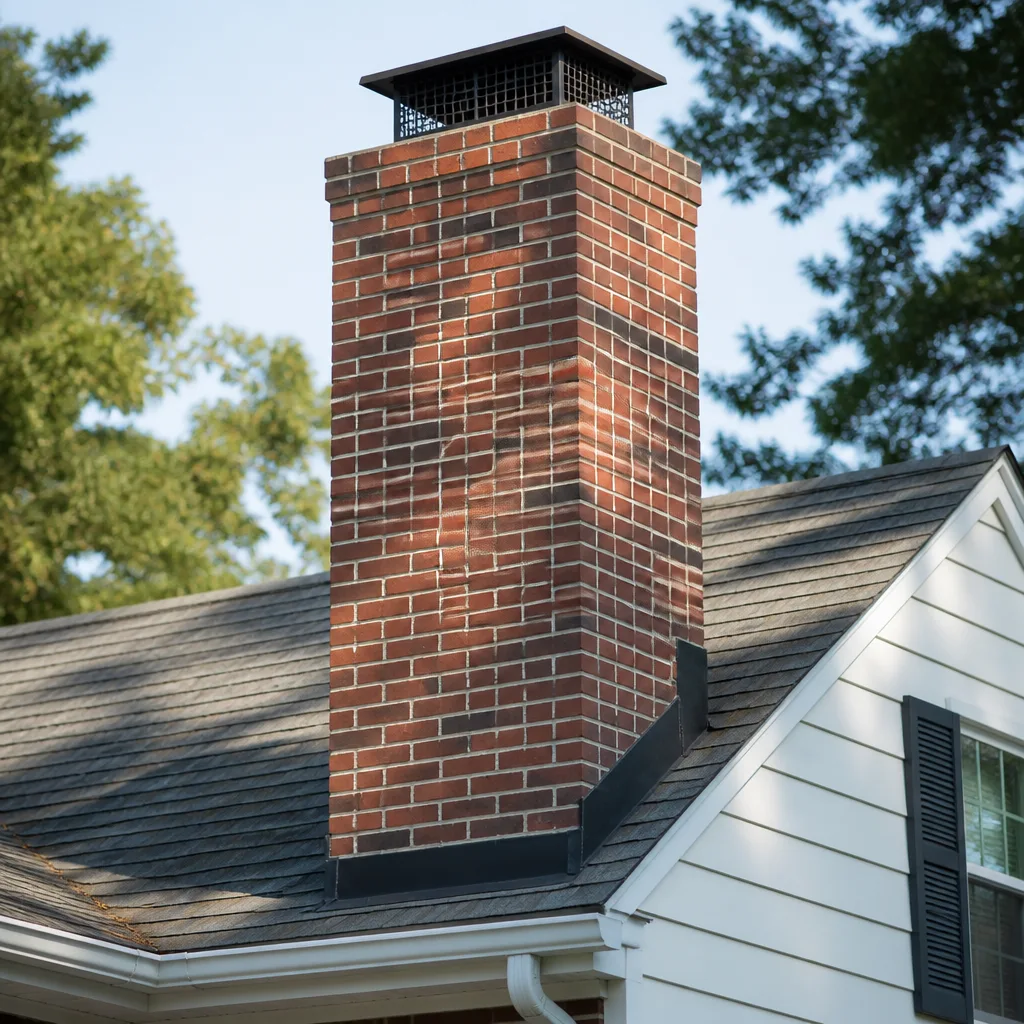 Masonry repair
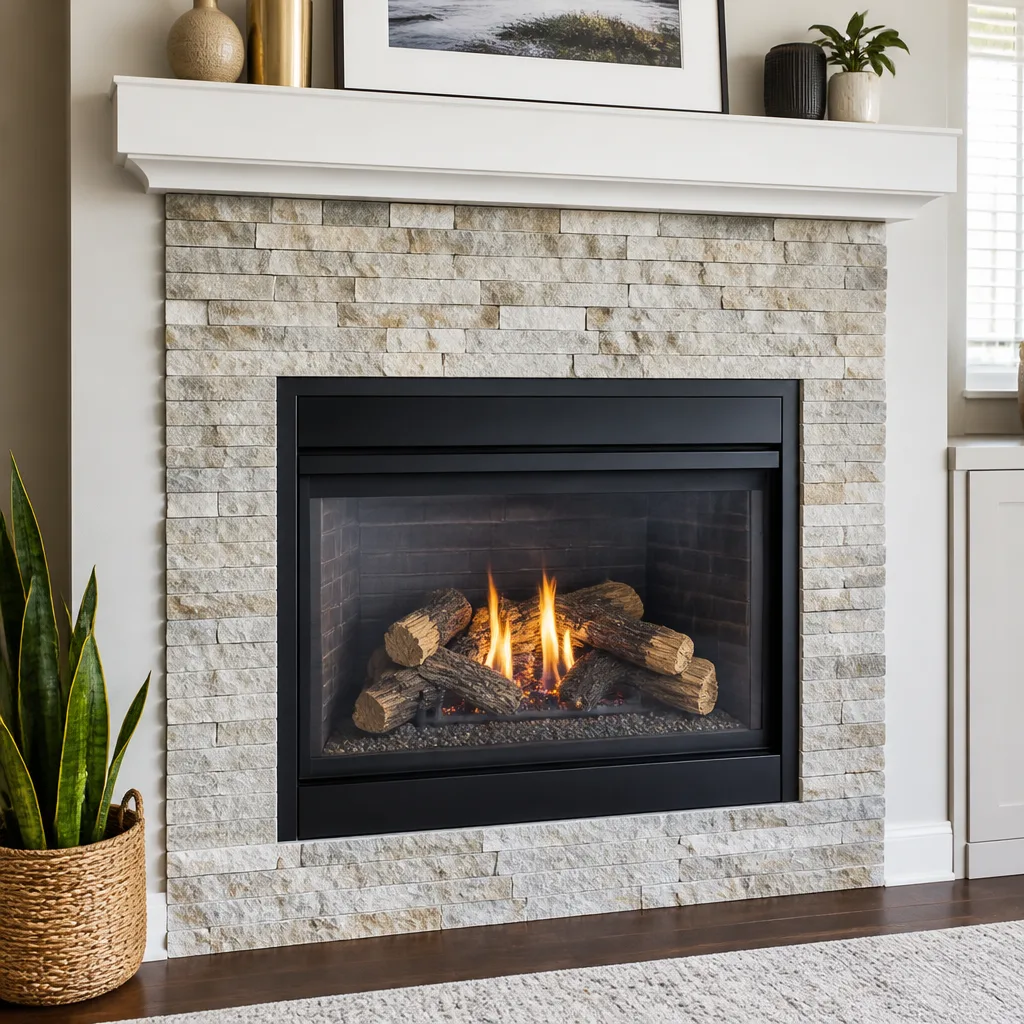 Gas fireplace service
Level 1 sweep and inspection to the NFPA 211 annual standard - flue, crown, cap, and flashing checked and photographed
Chimney sweep logs do not sweep chimneys. They loosen some creosote - which then falls where a brush and vacuum still have to collect it.
Chimney Sweep Maintenance Checklist for Abilene Homeowners
Most chimney care advice floating around online was written for a house in a wet, cold climate, and it shows. Abilene sits on expansive clay soils that swell and shrink as moisture comes and goes, and the same ground movement that cracks a driveway or shifts a foundation slab also works on your chimney footing and masonry joints. Add West Texas temperature swings that push mortar through repeated expansion and contraction, and you get a set of failure patterns a Pacific Northwest checklist will never catch. This guide gives Abilene homeowners a maintenance routine calibrated to what actually happens to chimneys here: what you can safely check yourself, what needs a professional, when to look, and what early damage looks like before it becomes expensive. We’ve watched chimneys in Abilene tell a story about the ground beneath them, and this checklist is built around that story.
Quick Answer
A chimney maintenance checklist in Abilene should cover four things: an annual professional sweep and inspection, a homeowner visual check of the crown, cap, and exterior mortar each season, an annual assessment of the chimney base and firebox for movement from clay-soil shifting, and prompt action on any spalling brick, cracked crown, or loose flashing. Homeowners can safely check the exterior and firebox from the ground and inside the house; roof access, flue interiors, and any structural repair belong to a trained professional. The most useful times to look are late spring after the burning season ends and early fall before you light the first fire.
Styles & brands we work with
- Sweep & inspection
- Caps & crowns
- Flue relining
- Masonry repair
- Gas fireplace service
Table of Contents
- Why Abilene Chimneys Age Differently
- What You Can Check Yourself vs. What Needs a Professional
- The Abilene Seasonal Timing Calendar
- Clay Soil Movement and Your Chimney Base
- What Spalling Brick Looks Like in Its Early Stages
- Tools for a Safe Homeowner Visual Check
- What a Professional Inspection Covers
- Repair Options When the Checklist Finds a Problem
Why Abilene Chimneys Age Differently
Abilene’s climate asks something of a chimney that a coastal or northern climate doesn’t. Winters here are mild, which means the big seasonal threat isn’t snow load or ice. The threat is movement and cycling. Masonry is rigid. The ground underneath it is not. When expansive clay soils take on water and then dry out, they change volume, and a chimney footing tied into that soil is subjected to a slow, repeating push and pull. Over a few years, mortar joints that were tight when the chimney was built can open. Crowns that shed water properly can develop hairline cracks. The firebox, which takes the most direct heat and thermal stress of any part of the system, can develop gaps at the smoke chamber transition.
Temperature adds to it. Abilene swings between warm afternoons and cold nights through much of the heating season, and every one of those swings expands and contracts masonry at a slightly different rate than the metal components bolted to it. That’s why flashing seals loosen, why caps work free, and why a chimney that looks fine from the street can have real problems one tier up.
None of this means Abilene chimneys are fragile. It means the failure pattern is different from what national checklists assume, and the maintenance routine should follow the pattern. When we look at a chimney in Abilene, we’re looking for ground-driven movement first, heat and creosote second, and weather exposure third. That order matters.
What You Can Check Yourself vs. What Needs a Professional
There’s a clear line between what a homeowner can safely inspect and what requires either a roof vantage point or a tool you don’t own. Getting this line right is the single biggest difference between an effective checklist and a dangerous one.
Safe for homeowners to check
- Exterior mortar joints from the ground. Walk the perimeter with binoculars and look at the joints between bricks. Crumbs of mortar on a window ledge or a soft, sandy texture where a joint used to be sharp is a warning sign.
- The cap and spark screen. Visible from the ground with binoculars. Look for rust-through, missing screen panels, or a cap that has shifted off-center.
- The crown, viewed from a safe angle. If you can see the top of the chimney from a second-story window or from across the yard, look for cracks and for any spot where water could pool instead of running off.
- The firebox and damper from inside the house. Look for gaps in the firebrick, cracked mortar, a damper that won’t seat, or rust on the damper assembly.
- The smoke chamber transition, if visible. Shine a flashlight up from the firebox and look at the shelf where the firebox narrows into the flue.
- Creosote buildup in the firebox throat. A sticky, tar-like glaze on the upper firebox walls is a sign the flue likely has glaze too.
Requires a professional
- Roof access. Steep pitches, aging shingles, and the height of most Abilene rooflines make this a fall risk. We don’t recommend homeowners climb their own roofs, and no checklist tip should encourage it.
- Flue interior inspection. This needs a camera and the training to interpret what it sees. A flashlight from the firebox shows you a few feet; a camera shows the whole run.
- Structural assessment of the chimney base. Judging whether a crack is cosmetic or a sign of footing movement requires knowing what to compare it to.
- Liner condition and HeatShield ceramic resurfacing decisions. Even if you could see the liner, deciding whether it needs a full reline or a ceramic repair coating is a professional judgment call.
- Any repair involving the crown, flashing, or masonry above the roofline. These are height work and structural work combined.
If your check finds something on the “professional” list, stop there and book an inspection. A sweep without an inspection is a guess, and a checklist that pushes you onto a roof to save a service call is a bad checklist.
The Abilene Seasonal Timing Calendar
Generic advice says “prep your chimney in the fall.” That’s fine as far as it goes, but Abilene’s actual weather calendar gives you two useful inspection windows and one you can skip.
- Late spring (after the last fire). This is the best time for a professional sweep. Creosote that’s been sitting in a flue through a heating season is at its most stable right after the burning ends, and getting it out before the summer heat locks it in makes the sweep easier. It also means any repair the inspection finds has the whole off-season to be scheduled and completed.
- Late spring/early summer (homeowner exterior check). The wet spring is when clay soils are at their most expanded. Once they begin to dry through early summer, that’s when movement shows. Walk the exterior with binoculars in June and note anything new.
- Late summer (homeowner firebox check). Before the first fire of the season, look at the firebox, damper, and smoke chamber transition from inside. This is when you catch gaps that opened over the summer.
- Early fall (professional inspection if you skipped spring). If the spring sweep didn’t happen, early fall is the last good window. Book it before the first cool evening, because appointment calendars fill as the heating season approaches.
- Winter (observe, don’t repair). During the burning season, watch for smoke rolling back into the room, a damper that gets harder to work, or a fire that drafts poorly. Note it and act on it in the spring.
One thing this calendar deliberately avoids: annual fall-only advice. That’s a northern routine built around winter load. In Abilene, the chimney is under structural stress all year, and the two-window check (spring for the professional, summer for the homeowner) is a better fit for the local pattern.
Clay Soil Movement and Your Chimney Base
This is the section most chimney maintenance guides skip, and for Abilene it’s the one that matters most. The expansive clay soils under much of Abilene change volume significantly between wet and dry conditions. A chimney is a tall, heavy, rigid masonry column sitting on a footing that’s tied into that soil. When the soil moves, the footing moves, and the chimney above it either follows or resists. Either way, something has to give.
Where it shows up first:
- Diagonal cracks at the base of the chimney, often starting from a corner of the firebox or the outer corner of the chimney stack. A single hairline crack isn’t an emergency; a growing diagonal crack is a signal.
- Separation between the chimney and the house wall. If the gap at the flashing line on the exterior widens over a season, that’s the chimney leaning away from the structure.
- Doors and dampers that no longer operate smoothly. A damper that used to work and now sticks could be a sign the firebox has racked slightly out of square.
- Interior mortar cracks at the firebox-to-hearth transition. These often trace the same movement the exterior shows.
- Cracks that reopen after repair. A mortar crack that you or a previous contractor patched and that has reopened is telling you the movement is ongoing, not settled.
In our experience, the mistake Abilene homeowners make with clay-soil movement is treating it as seasonal and waiting for it to “self-correct.” It usually doesn’t. A chimney footing doesn’t re-plumb itself when the soil re-wets. What does happen is the crack widens, water gets in, and a small masonry problem becomes a structural one. Catching the movement early is the whole point of an annual exterior check.
The good news is that when a chimney shows clay-soil stress, we’re often able to repair rather than rebuild. That’s where chimney repair capability matters, and it’s why we carry Chimney Sweep Abilene as a full-service chimney specialist rather than a sweep-only operation. A sweep that just cleans the flue and leaves the base alone doesn’t solve the problem Abilene’s ground creates.
What Spalling Brick Looks Like in Its Early Stages
Spalling is the process by which a brick face flakes, peels, or pops off. By the time most homeowners notice it, the brick looks obviously damaged: a hollowed-out face with crumbling edges. But spalling gives you warning signs long before that, and catching the early stage is the difference between repointing mortar and replacing brick.
Early-stage signs:
- A powdery, chalky white residue on the brick face. This is efflorescence, mineral salts pushed to the surface by water moving through the brick. It’s not damage yet, but it’s a sign moisture is getting in and drying out through the brick.
- A slightly darker, damp-looking patch on the exterior that doesn’t dry at the same rate as the surrounding brick after a rain. This is where the brick is holding water.
- Fine, hairline “map cracking” or a spiderweb pattern across the face of a single brick, before any material has fallen off.
- The top edge or the bottom corner of a brick looking slightly rounded or eroded, like it’s been sanded. This is spalling starting at the most exposed point.
- Sand or grit accumulating at the base of the chimney that wasn’t there before and doesn’t match the surrounding soil.
Late-stage signs (repair needed):
- Brick faces cracked and flaking in layers.
- Pieces of brick face lying on the roof or ground below.
- Visible “dishing” or hollowing where the surface of the brick has receded.
- Mortar joints around the spalling brick that have gone soft and sandy.
The root cause of spalling in Abilene is almost always water entry, and the most common water entry points are a cracked crown, failed flashing, and open mortar joints. Fixing the brick without fixing the water source just moves the problem. That’s why a proper repair cycle starts with sealing the crown and flashing, then repointing or replacing the affected brick, then reapplying a moisture-shedding finish. A cap that fits properly and a crown that drains correctly prevent most spalling before it starts.
Tools for a Safe Homeowner Visual Check
You don’t need much, and you don’t need to buy anything specialized. The goal is a careful, well-lit visual check, not an inspection.
- Binoculars. The single most underrated chimney tool. They let you examine the crown, cap, and upper mortar joints from the ground without any fall risk.
- A bright flashlight or headlamp. For the firebox, damper, and smoke chamber transition, checked from inside the house with your head below the damper, looking up.
- A camera or phone. Photograph the exterior from the same angle each season. Comparing this year’s photo to last year’s is how you catch slow movement before it’s obvious to the eye.
- A notepad. Date and note anything that looks different. A written record is what you hand to a professional.
- Gloves and safety glasses (for the interior check only). Firebox edges and soot are messy; protect your hands and eyes when reaching in with a light.
Notice what’s not on this list: a ladder. Do not add one. The risk of a fall far outweighs what you’d learn from a closer look, and the things you’d see up close are the things a professional can see more safely. The checklist is designed to keep you on the ground.
What a Professional Inspection Covers
An inspection is not just a sweep with a glance. It’s a distinct service with a distinct method, and the findings should be actionable on the same visit rather than a report that leads to a referral.
Here’s what a proper inspection includes:
- Exterior assessment. Crown, cap, flashing, mortar joints, brick surface, and the base-to-house connection, viewed from all sides.
- Firebox and smoke chamber review. Firebrick gaps, damper function, the smoke chamber transition, and the top of the smoke shelf.
- Flue interior scan. A camera run to look at the full length of the flue, checking for cracks, gaps, offset damage, and creosote levels.
- Liner condition evaluation. Whether the liner is intact, whether it needs a ceramic resurfacing with HeatShield, or whether a full reline with a flexible system like DuraFlex is warranted.
- Creosote classification. Whether you’re at the light-soot stage, the flaky stage, or the glazed stage, because glazed creosote changes the sweep method.
- Documentation. Photos and notes you can compare against future inspections.
If your chimney has an offset or a non-standard flue configuration, the inspection becomes more important, not less, because rigid liner companies can’t properly address those setups. A flexible liner system handles them, and a sweep-only operation that doesn’t carry one will either decline the reline or recommend a solution that doesn’t fit. When we run an inspection in Abilene, we’re checking against the full repair capability, so a finding doesn’t sit there unresolved.
Repair Options When the Checklist Finds a Problem
The checklist’s job is to find problems. The next question is what can fix them, and the range of options is wider than most homeowners realize. A sweep-only company often can only clean and refer; a full-service chimney specialist can match the repair to the problem.
- Ceramic resurfacing (HeatShield). For a liner with cracks or gaps that don’t yet require full replacement, a ceramic repair coating can restore it from the inside. This extends chimney life at a fraction of the cost of a reline, and it’s a repair option many sweep-only companies don’t offer.
- Flexible relining (DuraFlex). For a chimney with a damaged liner or an offset flue configuration, a flexible liner system can be installed where a rigid liner won’t go.
- Crown repair or replacement. Cracks and erosion are the top source of water entry and spalling. A properly sloped crown that sheds water away from the flue is the first line of defense.
- Cap replacement. A cap that fits properly keeps water, animals, and debris out. Precision-fitted components from Gelco and Famco are the kind of parts a full-service specialist can match to the flue opening.
- Repointing and brick replacement. For soft mortar joints and spalling that’s already progressed, the masonry itself may need attention.
- Firebox and damper repair. For gaps at the firebox and a damper that no longer seats.
One principle matters more than the specific product: nothing gets recommended without evidence you can see for yourself. If the inspection finds a problem, ask to see the photo. If a sweep-only company tells you the liner needs full replacement, ask whether a ceramic resurfacing was considered. A liner that can be restored shouldn’t be replaced, and a crack that can safely wait shouldn’t be rushed. We say plainly when work can wait, because the only way a repair recommendation means anything is if the “wait” option exists too.
Common Mistakes to Avoid
- Skipping the check because the chimney “looks fine.” Most chimney problems start on the parts you can’t see from the yard at eye level, or inside the flue. A chimney that looks good from the street tells you almost nothing about the firebox, smoke chamber, or liner.
- Never looking at the base after a wet spring. In Abilene, the most important check is the one most often skipped: the exterior base and the chimney-to-house connection after the wet season, when clay movement is at its peak. A widening diagonal crack caught in year one is a mortar repair; caught in year three, it’s a structural repair.
- Climbing the roof to “get a better look.” The fall risk on an Abilene roofline is real and the information gained is minimal. Binoculars from the ground answer the same questions and keep you safe.
- Repairing the brick without fixing the water source. Replaced brick in front of a cracked crown will spall again within a season. Fix the crown, the flashing, and the cap first, or the masonry work won’t hold.
- Treating a sweep and an inspection as the same thing. A sweep removes creosote. An inspection tells you whether the chimney is safe to use and what needs fixing. A sweep without an inspection is a guess, and skipping the inspection is how problems go unnoticed.
- Hiring only a sweep-only crew for a chimney that has structural needs. A crew that can’t reline an offset flue, can’t do ceramic resurfacing, and doesn’t carry the parts for a properly fitted cap will recommend what it can do and refer the rest. That leaves you coordinating two contractors to solve one chimney.
- Waiting until the first cold snap to book. Appointment calendars fill as the burning season approaches. Early fall inspections get scheduled; late fall inspections get pushed into the season. Plan around the weather calendar, not the forecast.
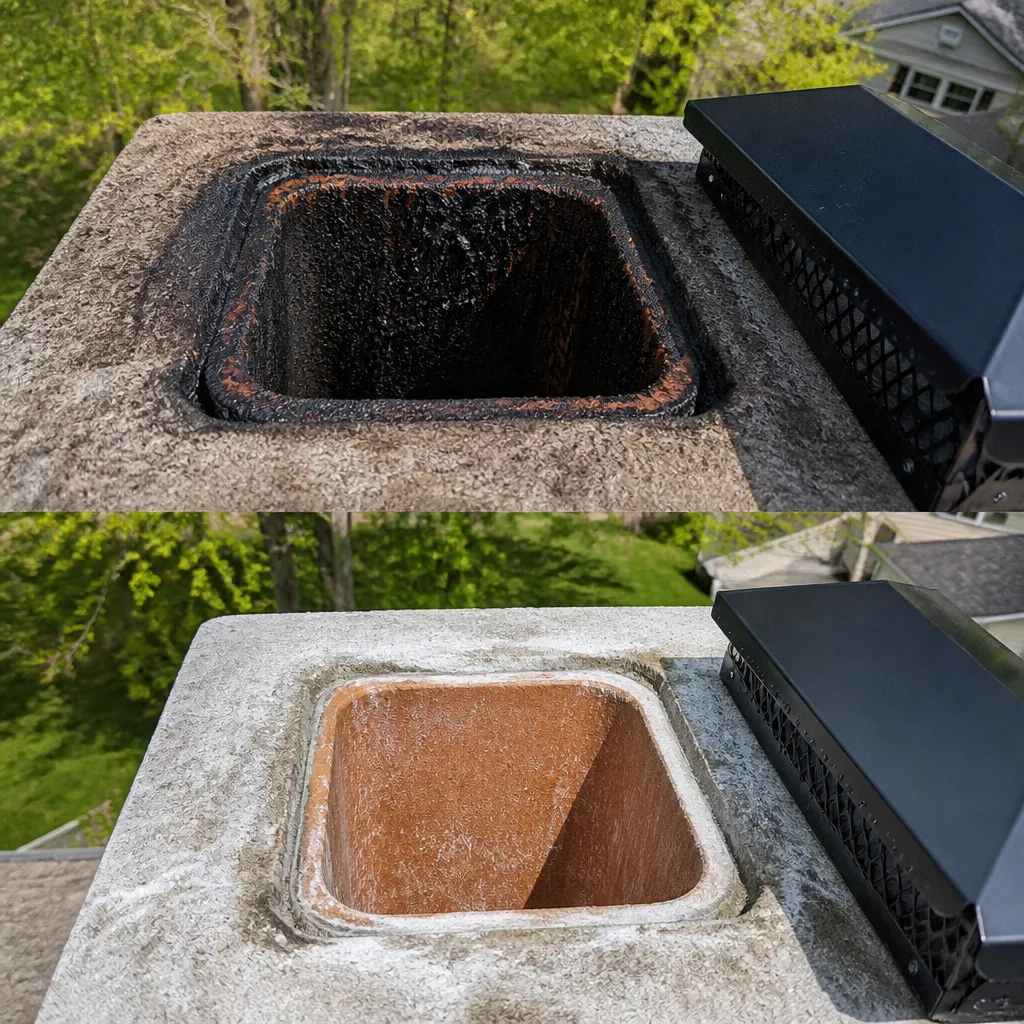
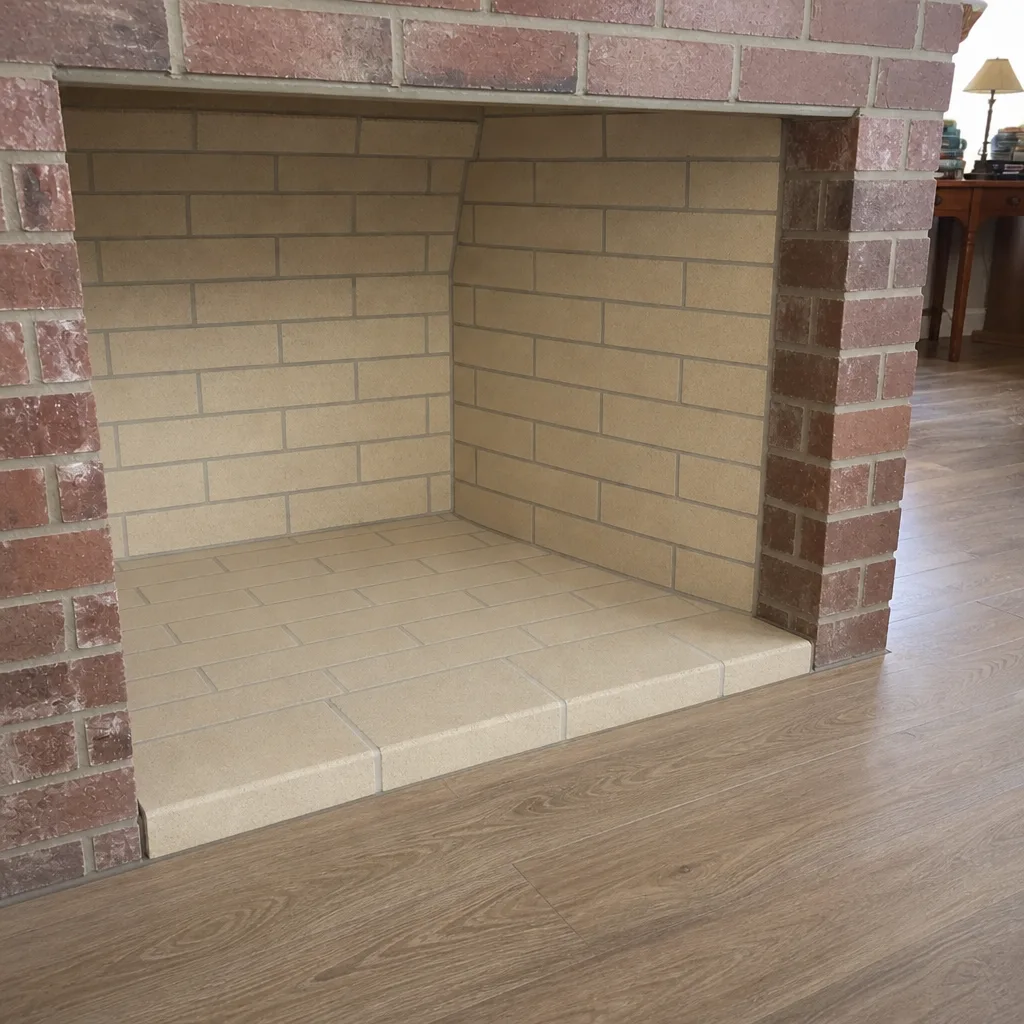
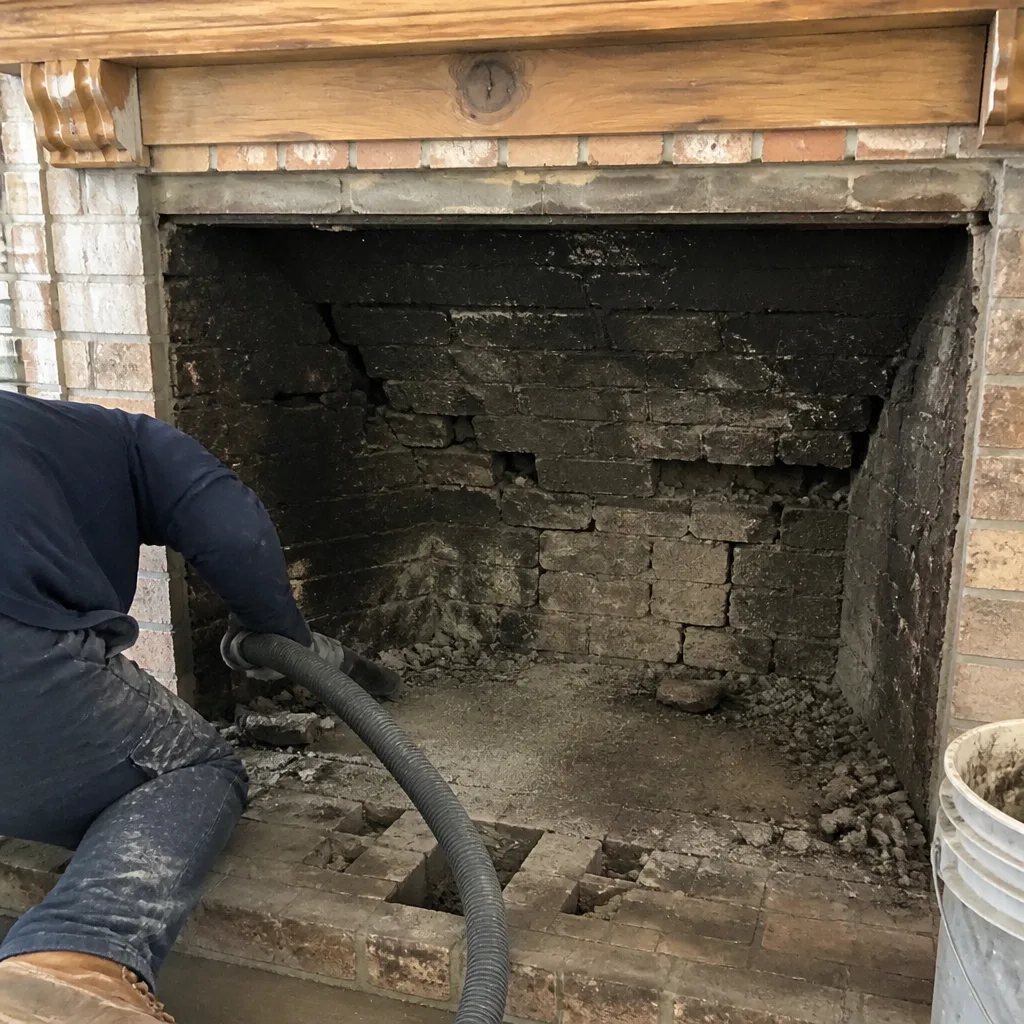
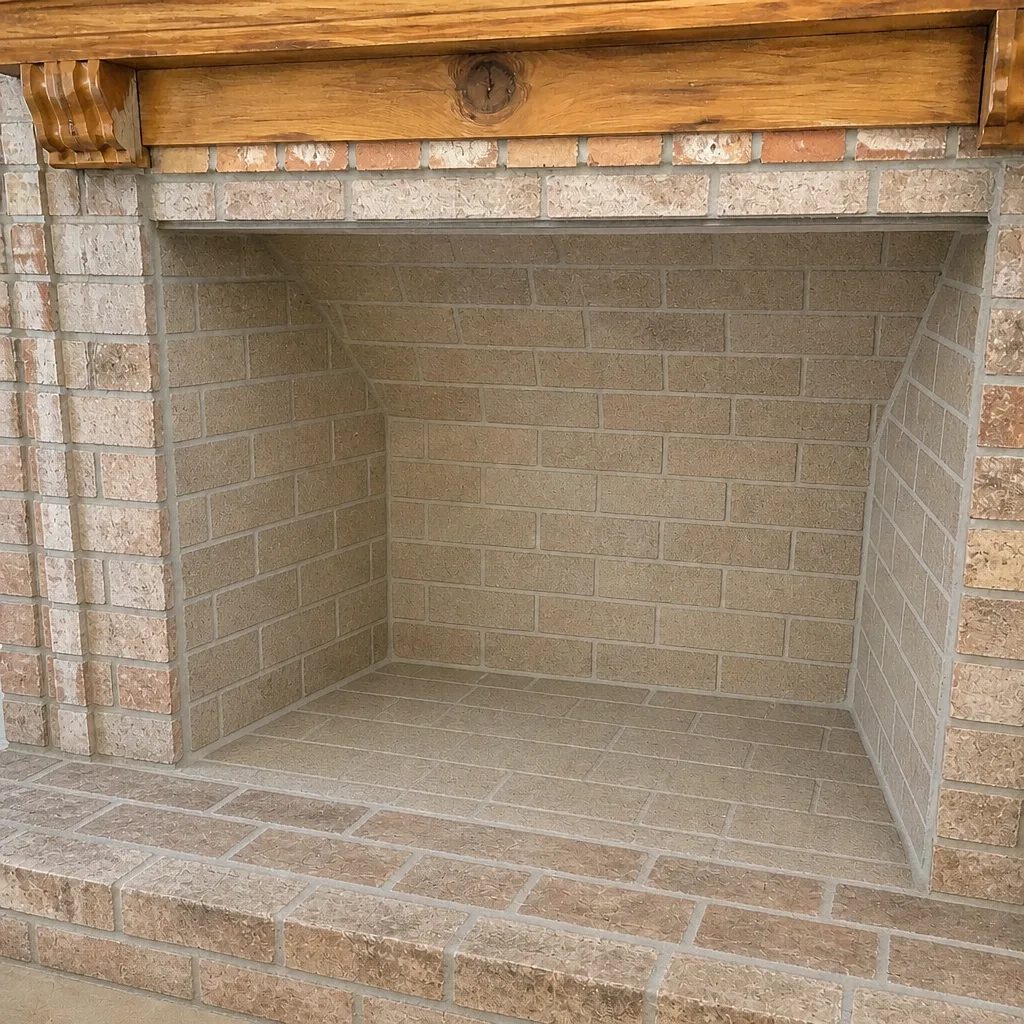
See the difference
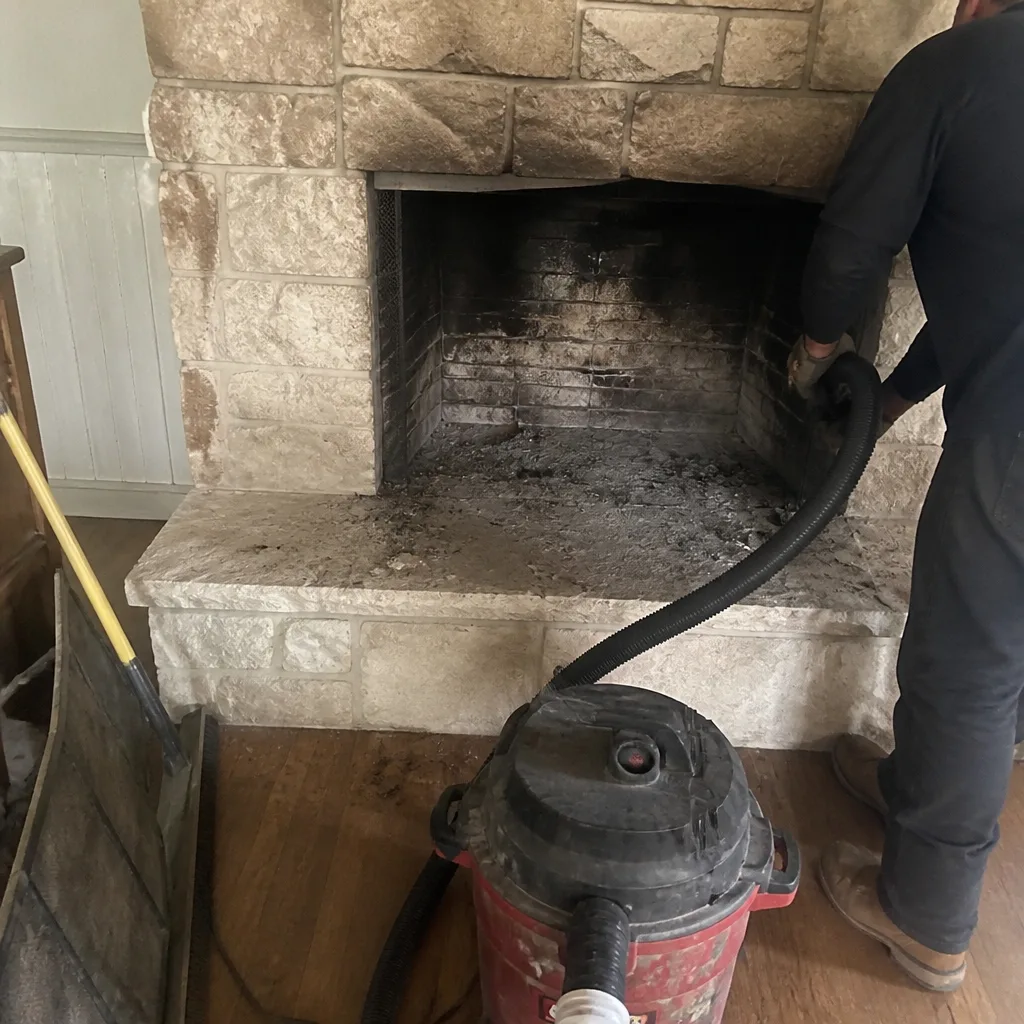 Before
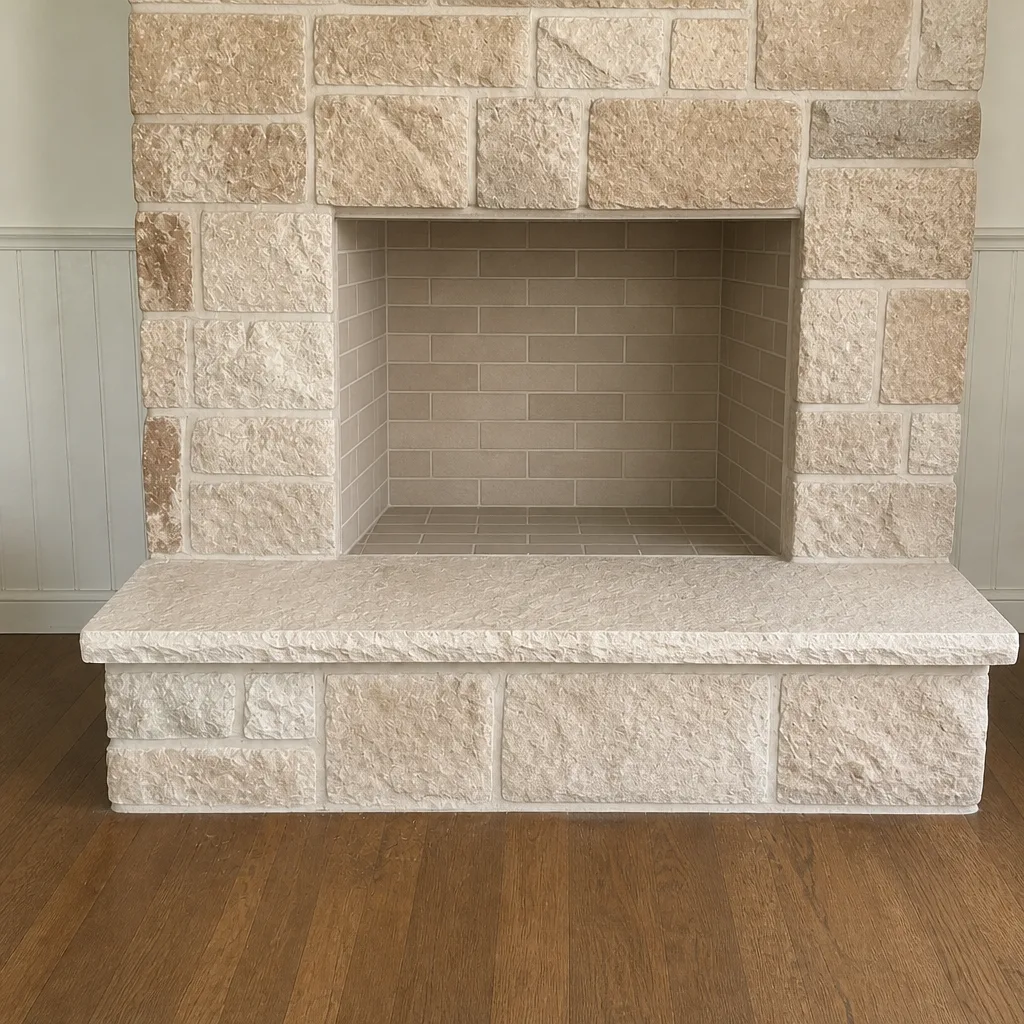 After
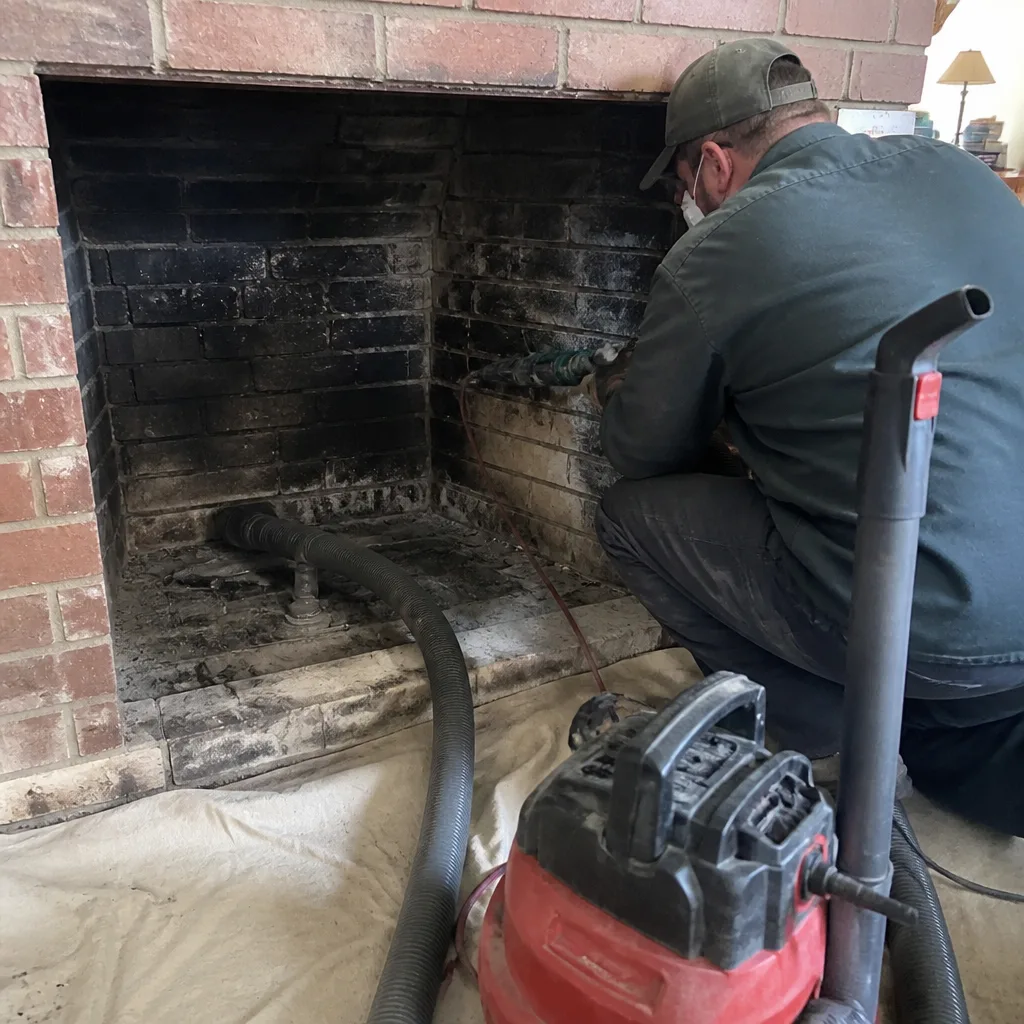 Before
 After
 Before
 After
When to Call a Professional
Call a professional when your homeowner check turns up any of these: a diagonal crack at the chimney base that has widened since the previous season, separation between the chimney and the house wall, a crown with visible cracks or pooling water, a cap that has shifted or rusted through, spalling brick in the late stage, a damper that no longer seats, gaps at the firebox-to-smoke-chamber transition, or a fire that drafts poorly. Also book a professional if it’s been a full season since the last sweep and inspection, or if you’ve never had one and you’re using the fireplace this season. Safety is the reason to act here, and the risk is real: creosote fires and carbon monoxide from blocked flues are established hazards, not scare tactics. Chimney Sweep Abilene offers free estimates in Abilene. Call (888) 359-2615. We answer 24/7. Fast dispatch from 7am to 7pm, Sunday through Friday.
Frequently Asked Questions
Once a year for both, and the annual inspection is the more important of the two in Abilene because of the clay-soil stress on the chimney base. If you burn regularly through the winter, an annual sweep is the baseline; heavy use may call for a mid-season assessment. The homeowner’s own check is separate and should happen twice a year, in late spring and late summer. Call (888) 359-2615 for a free estimate.
Yes, and it’s the most overlooked chimney threat in this region. Expansive clay soils change volume as moisture changes, and a chimney footing tied into that soil gets pushed and pulled as a result. The damage shows up as diagonal cracks at the base, separation from the house wall, and mortar cracks at the firebox. Catching it early makes the repair much smaller. Call (888) 359-2615 for an inspection.
Early spalling looks like a powdery white residue on the brick face, a darker damp patch that dries more slowly than surrounding brick, fine map-cracking across the face, or a slightly rounded eroded corner. Late spalling is obvious: cracked and flaking layers with pieces on the ground below. If you see early signs, fixing the water source (crown and flashing) is the priority. Call (888) 359-2615 for a free estimate.
Many liners can be repaired with HeatShield ceramic resurfacing instead of replaced, which is why it’s important to ask the question rather than accept a full-replacement quote at face value. The decision should be based on what the inspection camera actually shows, not a rule of thumb. A liner with cracks or gaps that don’t require full replacement is a repair candidate. Call (888) 359-2615 for an inspection you can see evidence from.
Binoculars, a bright flashlight, a camera or phone, a notepad, and gloves and safety glasses for the interior check. That’s it. Do not add a ladder to the list. Roof access is the one part of a chimney inspection that should not be done by a homeowner, and binoculars from the ground let you see everything you need to see safely. Call (888) 359-2615 if your check turns up something.
It depends on where the crack is and how big it is, which is exactly what an inspection determines. Cracks at the firebox-to-smoke-chamber transition and cracks in the flue liner are the ones that need to be addressed before use, because they can allow carbon monoxide or fire into the structure. Outer mortar cracks are often less urgent but still need repair. Don’t guess. Call (888) 359-2615 for a free estimate.
The Bottom Line
A chimney maintenance checklist for Abilene has to start with the ground, not the sky. The clay soils under this region stress your chimney base and masonry joints in ways a national checklist won’t catch, and the temperature swings do the rest. Check the exterior from the ground each late spring with binoculars and a camera. Check the firebox and damper each late summer from inside. Book a professional sweep and inspection once a year, ideally after the burning season ends. Watch for spalling brick in its early stages, seal the crown and flashing before repointing brick, and never climb your own roof. One company handles the sweep, the inspection, and the fix, using the same professional materials the industry’s leading suppliers stock. That’s the routine that keeps an Abilene chimney safe and makes small problems stay small.
If it’s been a season or more since your chimney was checked, start there. Call (888) 359-2615 for a free estimate from Chimney Sweep Abilene. We answer 24/7. Fast dispatch from 7am to 7pm, Sunday through Friday. Our technicians have up to experience, and every recommendation comes with evidence you can see for yourself.
Written by the team at Chimney Sweep Abilene.